Monday 31 March 2014

Gelli prints on canvas .. and using appliglue

 
Not bad, here I am again .. might be good to get a few blogs in before the next show happens .. which is the British Quilt and Stitch Village at Uttoxeter, where I have a gallery and am also teaching some rare 1 hour workshops. It is a lovely show, with both quilts and embroidery - so I hope lots of you will be able to visit. I'm busy making work for that at present - but before we get on to that, I promised I would go through finishing these gelli print pieces on canvas.
 
So here is where we had got to - prints all stuck to canvas with matt medium and sealed with the same. This is nice - but as a stitcher, I like extra detail and texture ...
 
 
So out come some supplies .. my neocolour 1 water resistant crayons, some coloured pencils - also water resistant and appliglue - which I love for making stitch like raised marks


 this area is not quite working for me .. it is too flat and a bit of maroon dye has done that naughty leaking thing again ..
 
 
neocolour 1 worked into the background
 
 
canvas right colour - bit of a splodge on leaves ..
 
 
more neocolour soon sorts that out and adds some depth
 

much nicer
 
 
I basically work over the whole piece like this with my crayons and occasionally pencils, adjusting colour, bringing out what I like and covering what I don't ...
 
 
then I turn to the appliglue
 
 
I use this for making rubbing plates, but have also discovered it is wonderful for adding raised lines and stitch like marks, either in places where I cant stitch (like into thick wood) or in addition to stitches for variety
 
 
you can leave it as is, or over paint, or colour with crayons ... here we have all the appliglue applied


and then I went back again with stitch. I use a fairly thick thread and a darning or chenille needle. Its not sit in front of the TV stitching .. but still pleasant and I love the extra dimension and interest it gives
 

you can see I have also added more neocolour 1 around the edges. Here are some details .. I'm doing these extra large, so I hope you can see how the appliglue and thread work so well together


 and the second piece


 We looked at using neocolour 1 on the bulrushes last time, but I did also add some appliglue lines on those too .. this is soft gold, which adds a lovely light shimmer 
 
 
and maybe you remember these passion flower leaves, which I just had to try on the gelli plate? Well, I kept the leaves and applied them to a prepared canvas with matt medium - which both seals and preserves them
 
 
adding in 'stems' and shoots with appliglue - this one is mink ..


ready for stitch now. And last update (for now) - a few post back I took you through mounting these prints and leaves on this canvas. I have now added stitch. crayon and appliglue to this .. and it is finished - ready for the show
 
 
 A lot of these will also be coming down to Art van Go with me, when I teach there next week. Kev and Viv have also asked Jenny Rolfe and I to show the Shape of Nature exhibition there, from 7 April (set up day) until 3 May. So I do hope lots of you will visit .. especially if you missed it at the NEC.

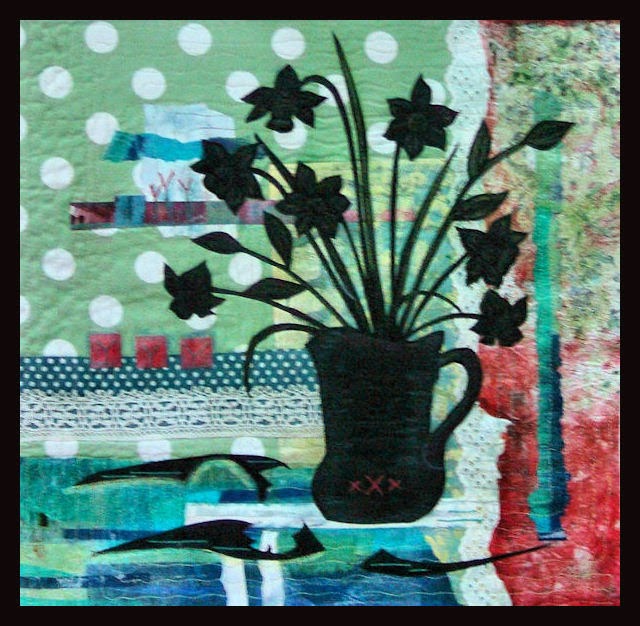
Long enough for today I think! - so here are just a few tasters of the work I am currently making to go in my gallery 'Beauty Matters' at Uttoxeter in April. I'll tell you lots more about that next time.  


Thank you for joining me - Hilary x
 

Thursday 27 March 2014

apologies, some crayons, a show, a catlogue and a lovely sale

 
So firstly - a big SORRY for the absence of blog posts in the last month. I have been taking the pictures ready to post, but then time has kept just running away with me. I do manage to get much more regular, although briefer posts and images onto my Facebook page .. so you might like to come and join me there: https://www.facebook.com/hilary.beattie.16
 
So lets have a bit of a catch up. Several people have asked what I mean by blocking my work and how I go about it. Basically, this is pinning the piece out flat and then wetting it to allow the fibres to reset where you want them. I am not fussy about a lot of things .. but this is one where I am .. if it is meant to be flat .. I like it flat
 
So here is one of the bulrush pieces .. very wonky after layers of paper, stitch and fabric have been added. I start by pinning it up on my design board (an office screen in my case)


You have to work slowly and methodically (yes, even me) - easing and manipulating the piece as you go. You may get nasty corners like this one below - but just undo some pins and keep stretching
 
 
eventually you will get it flat and straight, like this,
 
 
at which point - give it a really good spray with water and let it dry for two or three days
 
 
When dry it will be flat as a haddock and ready to mount/bind/whatever you wish to do to it.
 
 
When blocking the bulrush pieces, some of the dye leaked from the fabric into the surrounding area. Surprisingly, this only happens very occasionally, and often I am not bothered. But on this occasion, it was into pale blue commercial fabric I had used for sky and looked messy - as you can see below .. 


This is where my neocolour 1 crayons are brilliant, Water resistant and highly pigmented - I can go back into the piece to alter the colours back to what I want ..


And here are all three finished and mounted on canvas


My friend Linda also asked about going back into pieces with crayon .. so I thought some pics of that might be good
 
You remember the horse chestnut gelli prints? They had been machine quilted and then hand stitched and during all that handling, the photo transfers on canvas had become a little faded. So once again it is out with the neocolour 1 (I keep stressing the '1' as there are also neocolour 2 - which are lovely but water soluble and would therefore run when any wet medium was added ... '1' are water resistant and much more useful for this sort of work) and I just worked back into the leaf prints to bring the colour up where I wanted it  


I also worked into the lettering to emphasise the words


and off the edges of the photo transfers to help blend and merge them into the surround
 
 
and even over the stitching in places, to adjust colour


I also use the crayons to add marks, lines and colour wherever I feel is beneficial
 
 
lastly with these, I stitched and added tags to them .. giving both their title and their message:- in our sometimes grey and sad world - beauty does matter .. it is healing, validating and powerful .. and art that celebrates that, has always had and will always have, a place
  
 
The pieces were then mounted onto board and the edges finished with bonded fabric and ribbon. They were then sealed with matt medium
 
Beauty Matters 1: 22 x 24"
 
 
Beauty Matters 2: 22" x 24"
 
 
Beauty Matters 3: 31" x 41"
 
 
All these pieces, plus many more, were on display last week at the ICHF show at the NEC where Jenny Rolfe and I had a gallery called the Shape of Nature
 
We produced a catalogue for the show, which features images of all of the work displayed (over 30 pieces) plus close ups .. here are a couple of 'look inside' pages


It is 8"x 8" (squared off A4) and 48 pages and I have put copies into the website shop if you fancy one


We both sold a fair bit of work at the show too - which is truly the best feeling ever. I was especially delighted to have one of my Make it Personal students buy this triptych .. as an early retirement present for herself (excellent plan) and to keep her inspired ..
 
 
I very much hope she will be coming on next years course, as she had bucket loads of talent to work with. Which reminds me .. Make it Personal will be running all year again next year (2015) at the Bramble Patch in Weedon.(this years course is now fully booked). It consists of a two day session every two months and covers everything in the book, plus sketchbook and design work. Details are on the Bramble patch site, or on my website. Anne has not put the classes online yet - but does have the dates if you phone the shop. This years students are more than welcome to come again and expand what they are doing.
 
And lastly for today - whilst talking about workshops .. there are a few places left on the two day silhouette workshop at the end of April - also at the Bramble Patch. We will be looking at simple ways of creating background design and collages and then adding silhouettes on top. You don't have to do animals .. any of these sort of subjects .. or indeed anything else you can think of .. would be fine...


Last time - someone did a beautiful piece featuring retro fabrics and her beloved VW camper - it was fabulous!
 
I am very booked up now with workshops - I can't take any more bookings now until mid 2016 .. so if you fancy a very cheery as well as instructive and hopefully inspiring couple of days - do book on the ones still available .. here is a link to the Bramble Patch page:
 
Back soon with more show images, some sketchbook work and a bit of an appliglue 'how to' .. another of my favourite finishing tools - thank you for visiting - Hilary x